Understanding the 4 pin fan connector
When it comes to building a custom PC, one of the most important components is the cooling system. And when it comes to cooling systems, the fans are essential. Fans come in different shapes and sizes, but there’s one aspect that’s standard across almost all of them: the connector. In this article, we’re going to discuss everything you need to know about the 4 pin fan connector.
What is a 4 Pin Fan Connector?
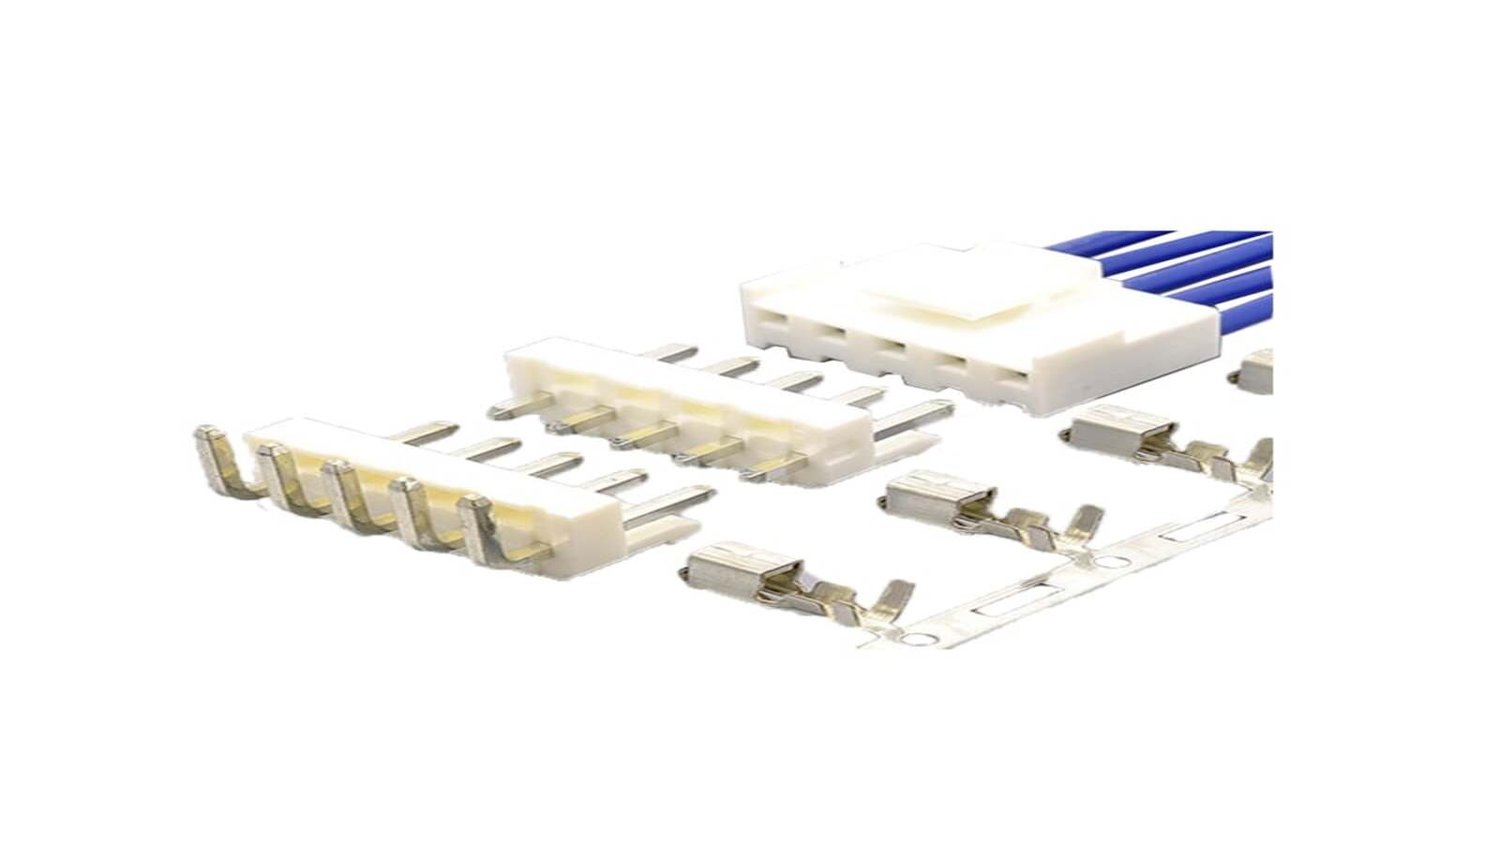
A 4 Pin Fan Connector is a small plug used to connect a fan to the motherboard. It contains four pins and is designed to provide power and control to the fan. The 4 pins are used for Ground, +12V, and two PWM (Pulse Width Modulation) signals that allow the motherboard to control the speed of the fan.
How Does It Work?
The +12V pin is the one that provides power to the fan motor. The Ground pin completes the electrical circuit. The two PWM pins are used to control the speed of the fan. The motherboard sends a PWM signal to the fan, which tells it how fast to spin. The faster the signal, the faster the fan spins, and vice versa.
Benefits of 4 Pin Fan Connector
The main advantage of the 4 Pin Fan Connector is its ability to control the speed of the fan. If the computer is running cool, the motherboard can slow down the fan to reduce noise. If the computer is running hot, the motherboard can speed up the fan to increase airflow. This results in better cooling, less noise, and longer lifespan for the fan.
Compatibility with Other Connectors
4 Pin Fan Connectors are not compatible with other types of connectors. They should not be confused with 3 Pin Fan Connectors, which are similar but lack the PWM function. However, some motherboards have 4 Pin Fan Connectors that are compatible with 3 Pin Fans. In this case, the fan speed will be fixed without the ability to control it.
Installation Process
The installation process for a 4 Pin Fan Connector is straightforward. First, locate the Fan Header on your motherboard. It’s usually near the CPU socket. Then, align the pins on the connector with the holes on the Fan Header. Push gently until it clicks into place. Make sure the connector is securely attached, and you’re done.
Common Issues with 4 Pin Fan Connector
One of the most common issues with 4 Pin Fan Connectors is compatibility. Some older motherboards may not have a 4 Pin Fan Connector, which means you won’t be able to use 4 Pin Fans on them. Another issue is the incorrect installation of the connector, which could result in damage to the fan or motherboard.
How to Troubleshoot Any Issues with 4 Pin Fan Connector?
If you’re experiencing issues with your 4 Pin Fan Connector, start by checking the installation. Make sure the connector is properly seated on the Fan Header and that the fan is spinning. If the fan is not spinning, check the fan blades for obstruction or damage. If the fan is still not working, it may be faulty and needs to be replaced.
Where to Buy 4 Pin Fan Connector?
4 Pin Fan Connectors are widely available online and in electronics stores. They’re usually sold in packs of 5 or 10, and they’re very affordable. When buying 4 Pin Fan Connectors, make sure to check the compatibility with your motherboard and the fan, and always buy from a reputable seller.
Conclusion
Now that you know everything about the 4 Pin Fan Connector, you can choose the right fan for your custom PC build. Remember to always check the compatibility, and to follow the installation instructions carefully. With a well-functioning cooling system, your PC will stay cool and quiet, and you’ll be able to enjoy your games and applications without any issues.